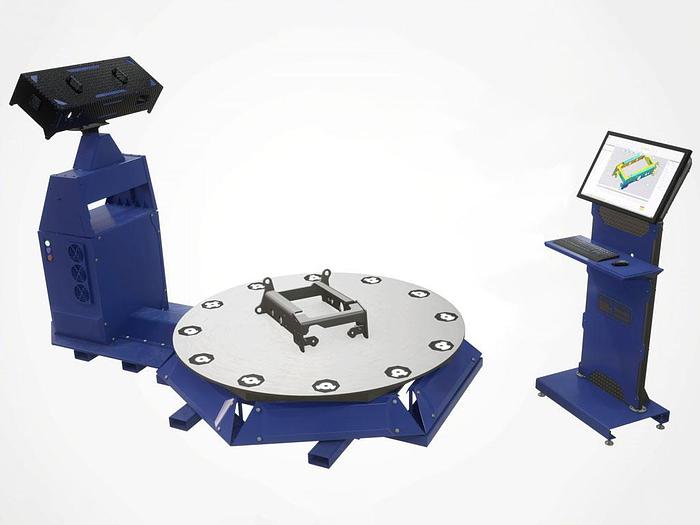
Inspecvision Combo Opti-Scan 2000
Inspecvision Combo Opti-Scan 2000
or
Call 508-277-9598
Description
Opti-Scan 2000
Measures surfaces and edges in 3D
Single click automated inspection
White light scanning technology
Certified accuracy
65MP camera as standard
Designed for factory floor conditions
Specifications
| Manufacturer | Inspecvision |
| Model | Combo |
| Condition | New |
| Repeatability** | 35 microns |
| Point spacing | Better than 210 microns |
| Scanning speed*** | > 250,000 points per second |
| Scanning time*** | < 10 seconds |
| Processing time**** | < 5 seconds |
| Peripheral equipment | USB lighting controller, Standard Computer Interface |
| Required operating system | Windows 10 |
| Software included | 3D scanning, automated repositioning, texture map acquisition, 3D color rendering, creation of cross-sections, creation of 3D edges, reverse engineering of 3D edges to DXF/DWG, comparison of 3D edges to DXF/DWG, reverse projection of colored deviation reports onto part, creation of 3D point clouds in PLY, STL, VRML, ASCII formats, creation of texture mapped point clouds, calibration software. |
| Free 3d inspection software | Fully compatible with off the shelf free 3D inspection software. Functionality includes comparison to 3D solid models, dimensioning, GD&T, cross-sections, full surface deviation inspection, merging of scans, customizable reports, automatic alignment of scan to CAD, point cloud meshing, processing and filtering, extraction of nominal data from CAD model, comparison of 2 scans. |
| Advanced 3d inspection software option (geomagic control) | Available on request. Comparison to 3D solid models, GD&T, SPC, cross-sections, full surface and edge inspection, creation of report templates, automated merging of point clouds, automatic alignment of scan to CAD, automatic point cloud processing and filtering, automatic detection or repositioning spheres, macro creation for full automation, automatic extraction of nominal data from CAD model, comparison of 2 scans. |
| 3d reverse engineering (advanced package) | Available on request. Creation of 3D solid models from scan data. |
| Calibration kit | Included as standard, retro-reflective reference markers mounted onto steel plate with repositioning frame |
| Accuracy verification object | Included as standard, calibrated ball bar |
| Optiscan construction | Camera and projector assemblies mounted on floating carbon fibre chassis |
| Repositioning markers | Set of 24 loose magnetic photogrammetric markers to allow repositioning |
| Camera | > 18 megapixels |
| Projection source | LED/laser projector |
| Data cables | HDMI and USB3 |
| Power supply | 110-240V 50/60Hz |
| Power consumption | 1.5 Amp maximum at 230 Volt, 3 Amp max at 110 Volt |
| Ec directives | Compliant with Machinery, Low voltage and EMC Directives |
| Paint color (powder paint) | Light table RAL 5013 (colbalt blue) |
| Ambient operating conditions | 5-35 degree C |
| Standard packing | Export crate suitable for sea shipping |
| Warranty | One year limited warranty on hardware and software |
| Optional extended warranty | Two or three year extended warranty (requires software upgrade option) |


